
What is Stage 2 in A Bizarre Run?
The PvP survival half after the train: Bounty, Checkpoints, Boom Boom, Elimination Barrier, fog. Deaths can eliminate.

This A Bizarre Run Stage 2 guide is the PvP half of Place 73130560626141 (Current Team, group 252749020). After Stage 1 GOAL and the train, the race becomes survival: Bounty, timed Checkpoints, Boom Boom, Elimination Barrier, damaging fog. Checked November 8, 2026. Play on Roblox.
Allthings recap: pick Easy $175 +25 pts / Medium $350 +50 / Hard $600 +80. Blaxie recap: the game randomly assigns a target. This page tables both. Checkpoints first. Call Horse T after a knockoff. One Boost per stage (Blaxie) vs stamina Sprint (Radex) stays Unverified.
| Fact | Detail |
|---|---|
| Place | 73130560626141 |
| When | After Stage 1 GOAL + train Run Shop |
| PvP | On — you can be eliminated |
| Bounty (allthings) | Easy ~$175 +25 · Med ~$350 +50 · Hard ~$600 +80 |
| Bounty (Blaxie) | Random assigned target; you are also marked |
| Priority | Checkpoints first, then Bounty |
| Boom Boom | If last to first check-in |
| Barrier | Needs a KO count before the path opens |
| Fog | Damages players who linger |
| Remount | Call Horse T after knockoff |
| Platform | Roblox · Desktop, Mobile, Tablet, Console |
| Last verified | November 8, 2026 |
Matched by build plan, shared topics, and guide progression — not random related links.
Stage 2 is the second half of the live Race on Place 73130560626141. Stage 1 was Slipstream and no rider shots. Stage 2 turns full PvP on, starts a fog / timer pressure, and splits the route with timed Checkpoints. Dying here eliminates you from the match in the Blaxie recap — you cannot treat a knockoff like a Stage 1 sand pit. The listing still wants Stands, guns, and mounts; this page is the survival order.
One recap splits Stage 2 into three small segments with two mandatory check-ins. Raw speed only matters on the last dash from the second check-in to finish. Early segments are for not being last, grabbing Rokakaka / arrow shards, and touching Bounty only if the Checkpoint is safe. Next: the two Bounty models.
Two public recaps disagree on the selection UI. Allthings: before Stage 2 you pick Easy / Medium / Hard and the payouts are about $175 +25 Points, $350 +50, $600 +80. Blaxie: the game randomly assigns a target player you hunt, and marks you for someone else; taking the target is a score spike, surviving the mark keeps you in the match. This wiki prints both. Your HUD is the tie-break: if you see Easy/Med/Hard buttons, use the cash table; if you see a named player, you are on the assigned model.
First session: if a picker exists, take Easy. The extra $425 on Hard is worthless if fog or Boom Boom deletes you. If the HUD assigns a target, you do not get a difficulty button — ride Checkpoints first, take the target only when the path is already safe. Do not invent a third model (auction, party share). TBA: exact UI label, whether Easy still exists on assigned lobbies, and whether Points share a scoreboard with Stage 1 place.
| Model | What you do | Payout recap | This wiki |
|---|---|---|---|
| Difficulty picker (allthings) | Choose Easy / Med / Hard | $175+25 / $350+50 / $600+80 | Use if the buttons exist |
| Assigned target (Blaxie) | Hunt the named player; you are also hunted | “Massive score” — number TBA | Use if a name is assigned |
| First clear | Easy or ignore hunt until Checkpoint | Survive > max Cash | Default |
| Hard / greedy hunt | Only with a kit you tested in Battlegrounds | Highest Cash if you live | Not the first loop |
Checkpoints are timed gates. Missing one is how fog and Elimination eat you while you are still looking for a $175 Easy. Recaps: hit Checkpoint, then decide whether to chase Bounty. Mid-pack is legal. Being last across the first check-in is the Boom Boom trigger (next section). Do not sprint empty on the first two check-ins if the recap’s three-segment split is what you are playing — save the tank for the last dash.
If your assigned target sits on the Checkpoint line, you get a free collision. If they are behind you in the fog, you do not reverse into linger damage for $175. Sandman on foot still helps a late check-in. Tusk nails wait until you are already safe on the ribbon.
If you are the last person to the first check-in, recaps spawn the hostile Boom Boom family / Boom Boom Brothers to hunt you. That is a last-place tax, not a random world boss you should farm. Fix: do not be last. Mid pack is enough. Entity catalog still marks Boom Boom Brothers tba for a full kit sheet — move names and HP stay TBA.
Allthings: falling behind raises risk because Boom Boom targets laggards. Blaxie: last to first check-in is the spawn condition. Play to both: keep a rider in the rearview at the first stamp. Fighting Boom Boom on foot while fog ticks is how first clears end. If they already spawned, Checkpoint and remount beat a pride duel unless the HUD forces the fight.
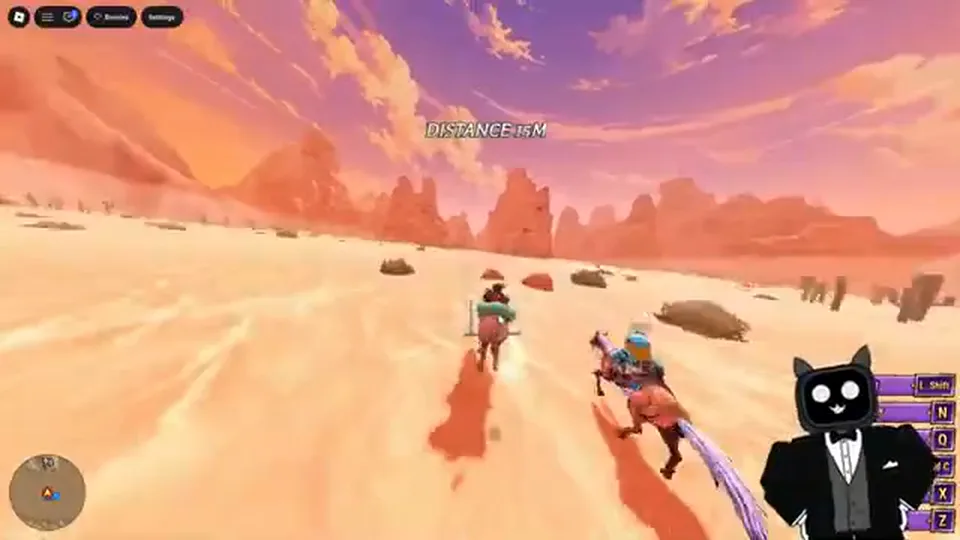
Tutorial has a short Boss for Block practice. Boom Boom is a Stage 2 race event. Do not import other JoJo Roblox boss tables onto this spawn.
Late Stage 2 locks a combat zone. An Elimination Barrier stays shut until a displayed KO count is met. You cannot skip the quota by hugging the gate. After the path opens, leave. Fog damages lingerers. Sitting in the zone for extra KOs after the door is open is how you donate the match.
Blaxie also mentions tornadoes on open plains in this half — treat extra weather as Unverified until a HUD capture, but steer as if random wipes exist. Barrier KO requirement number is TBA (live counter wins). Fog damage per tick is TBA. The play is: help the count if you are already in the pile, then ride out the moment the ribbon opens.
| Pressure | What it wants | Your answer |
|---|---|---|
| Timed Checkpoint | Be there before the stamp | Path first, Bounty second |
| Boom Boom | Punish last to first check-in | Mid pack |
| Elimination Barrier | KO count | Fight only as much as the counter needs |
| Fog | Hurt lingerers | Leave when the barrier opens |
| Tornado recap | Unverified wipe | Do not stand still to screenshot |
A heavy hit dumps you off the saddle. You lose riding speed and fight on foot. Recaps: summon Stand, Block (F), Call Horse (T), keep moving. Do not empty every cooldown in a pride trade while the mount walks away. The win is remount + Checkpoint, not a Battlegrounds clip.
Listing Stand keys: Q summon, E Barrage, R Heavy, T Ability 1, Y Ability 2, F Block. Call Horse is also T on the Sportskeeda recap. If T is already a Stand ability on your HUD, the Call Horse bind may be a different key — Unverified until capture. Press the control that brings the animal; do not stand still. Sandman is the Stand that still races on foot. Rokakaka is the heal/reset recap — confirm tooltip before you eat it in fog.
Quest board recaps include finding a Corpse Part. That is a progress item, not a Stage 2 revive. If a sneak-peek still shows a corpse part, file it on items when the HUD name is readable. Do not skip Call Horse to hunt parts while fog ticks.
Blaxie: one Boost per stage, save it for the final dash from the second check-in to finish. Radex: Sprint and Boost as stamina habits, top-10 finishes, no one-charge sentence. Both cannot be published as fact. This wiki marks the cap Unverified. Read your riding HUD: if Boost is a single pip that does not refill, Blaxie wins for that session; if it refills with Stamina play, Radex’s sprint advice wins.
Either way, do not dump Boost on the first check-in while hunting Easy Bounty. Stage 1 already taught canyon waste. Stage 2’s last ribbon is the spend. Pair with race Slipstream if any pack still exists. Then cash out, Spin Ticket wheel, next Arrow craft.
| Recap | Boost / Sprint claim | Use |
|---|---|---|
| Blaxie | One Boost per stage; save for last dash | If HUD shows one charge |
| Radex | Sprint + Boost as stamina tools; finish top 10 | If Boost refills |
| This wiki | Unverified cap | Treat Boost as scarce until HUD says otherwise |
Binds and Block: combat. Loadout: items.
If Stage 1 is still the wipe, return to the race guide.
The PvP survival half after the train: Bounty, Checkpoints, Boom Boom, Elimination Barrier, fog. Deaths can eliminate.
Allthings: about $175 Cash and +25 Points. Medium ~$350 +50. Hard ~$600 +80. Assigned-target recap has no difficulty prices — HUD wins.
Both recaps exist. Picker vs random assign. Table both; trust the live HUD.
No. Checkpoints first. Then hunt if you are not last and fog is not eating you.
Being last to the first check-in in the Blaxie recap. Do not be last. Kit details TBA.
Call Horse T after a knockoff, plus Block. If T is a Stand ability on your HUD, find the remount control — bind split is Unverified.
Fog damages lingerers. Leave the Elimination Zone when the barrier opens. Tick numbers TBA.
One-Boost-per-stage is Unverified versus stamina Sprint recaps. Save whatever charge you have for the last dash.
Matched by build plan, shared topics, and guide progression — not random related links.